Heart warming moment for Aussie fashion favourite, Tigerlily, today. On the eve of Tigerlily’s 20th Birthday the brand strutted down the runway at its and comeback Mercedes-Benz Fashion Week Australia, in Sydney this afternoon.
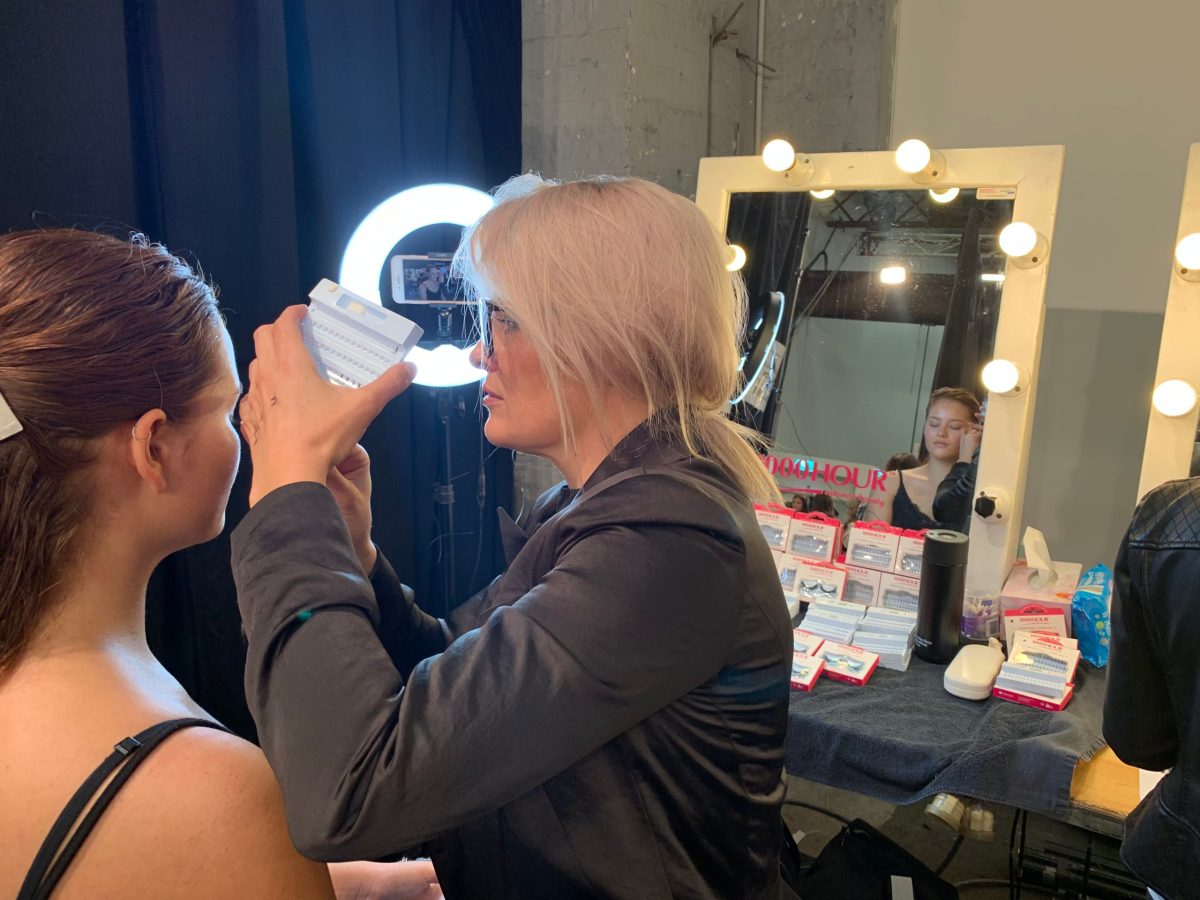
Models were sporting dainty and natural looking 1000 HOUR Eyelashes by 1000 HOUR Lash Director Melanie Burnicle. In collaboration with Makeup Artist Lara Karamian for Lancôme they created a fresh natural sun-kissed look .
The collab fit makes perfect sense: Tigerlily shares the same youthful curiosity as the 1000 HOUR brand. Tigerlily CEO Chris Buchanan says: “Tigerlily is one of Australia’s most admired and respected brands. At Fashion Week, we will be presenting a more elevated apparel offering – think linens, silks and luxe fabrications, new swim silhouettes with classic Tigerlily prints. We’re proud to be supported by iconic Australian DIY beauty brand, 1000 HOUR, as our lash sponsor for such a special show for Tigerlily.”
The show’s 1000 HOUR Lash Director and Makeup Artist Melanie Burnicle comments: “My secret to creating a natural look for Tigerlily’s show was 1000 HOUR’s individual lashes. I love working with Australian brands and 1000 HOUR lashes are easy to apply especially in a fast paced environment like backstage. The lashes are great for creating anything from a fresh faced day look or adding a some fabulous drama to your makeup.”
Melanie’s step-by-step how-to and top tips to create the natural lash look sported on the runway today:
Step 1 – Curl your lashes
Curl your lashes! This helps to create a base for the false lashes and allows for a seamlessly natural look. Doing this before Mascara helps to protect your lashes from breakage. If you choose to curl once mascara is applied be very gentle and careful on releasing lashes as mascara will stick the lashes to the curler.
Step 2 – Apply mascara
Apply mascara before applying false lashes. This helps create structure and allows you to better judge the placement of the individual lashes especially for the natural look.
Mel’s Tip: Re-applying mascara at the end of the process will add more drama to the look.
Step 3 – Prep individual lashes
Apply a small amount of lash glue to the back of your hand and allow it dry a little (this means you don’t need to sit still for as long waiting for it to dry on the eye) and line up the Individual lashes close to the glue so you can see what you are working with.
Mel’s Tip: If you need to, trim the individual false lashes before applying to ensure they aren’t too much longer than your natural lashes. This will help the false lashes to blend, creating a really natural look.
Step 4 – Use tweezers to apply each lash
Use tweezers so you can angle the lash application and help you to place the lashes flat into your lash line. Remember to make sure that the lashes don’t sit higher on the skin. If so, they will be visible especially in a natural makeup look.
Mel’s Tip: Remember to look at your eye shape as most eyes aren’t symmetrical, so you may need 3 lashes on one eye and 4 on the other. If your brows sit low, don’t add too much length in the lashes you apply on inner corners as it will create a smaller eyelid. If your eyes are very round, don’t apply lashes right on the outer corner as it will follow your eye shape and drag the eye down and not lift it up for a youthful appearance.
1000 HOUR Individual Lashes are available in two styles Short to Medium and Medium to Long RRP $9.49.
1000 HOUR’s range of false lashes are available in Priceline stores nationwide