Word by Sarah Mourtos
I am no stranger to fake tan.
Over the past couple of months, I have embarked on a self-imposed mission to achieve the best fake tan.
Experimenting with different application techniques and trying out all the hacks under the sun, I think I have just about cracked the secret formula to achieving a DEEP but NATURAL looking fake tan.
I assume Isaac Newton had similar feelings of success when he discovered gravity.
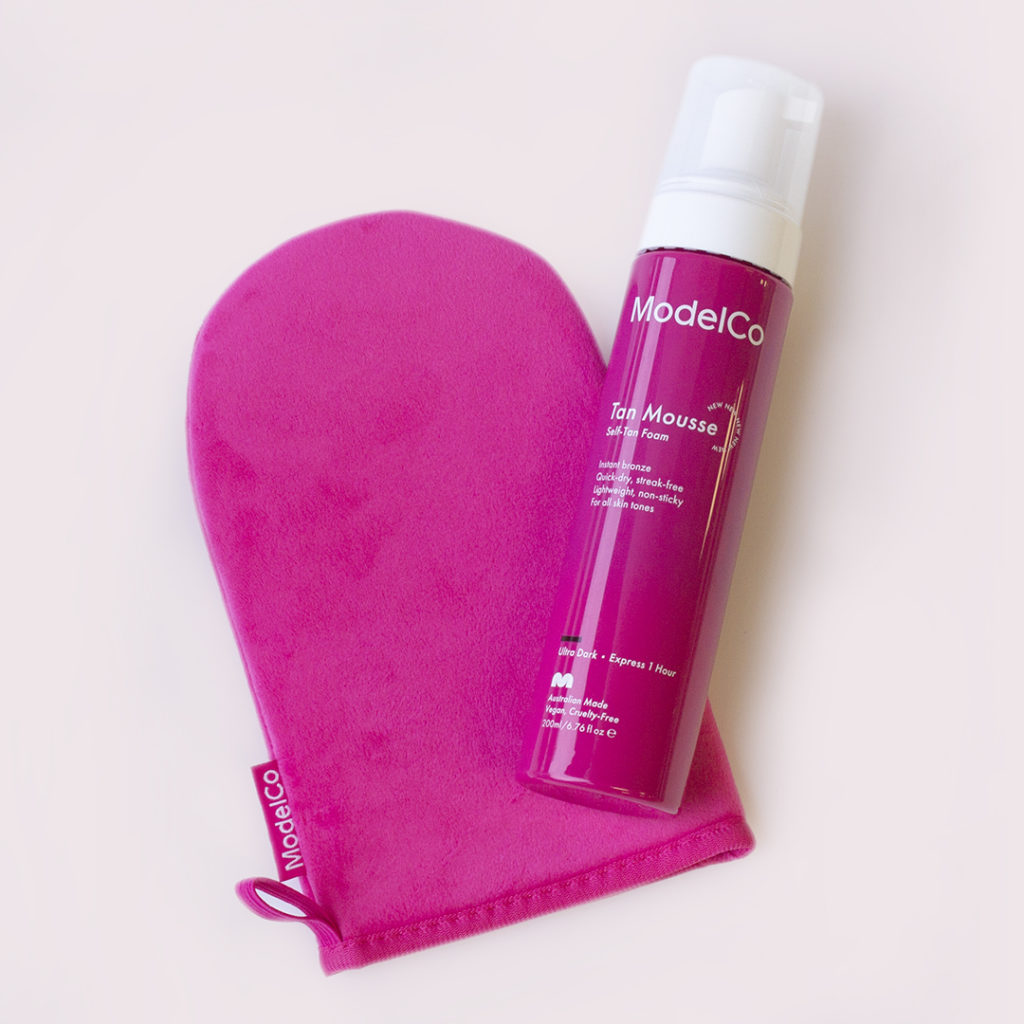
And in perfect timing, ModelCo – reputedly the makers of the world’s first tan in a can – has reformulated its Tan Mousse to include 10 per cent more DHA.
For those unfamiliar, as I know not everyone is a fake tan nerd, DHA is the active ingredient used in self-tanners and is responsible for creating that bronzed glow. The ingredient itself is clear, but when applied reacts with the top layer of skin causing it to temporarily darken.
ModelCo has also reformulated its Tan Mousse scent to White Flowers and Dusk, which is a nice change if, like me, you do not enjoy the typical coconut scent of self-tanners.
One thing that hasn’t changed is the colour. ModelCo Tan Mousse is a classic green based tan, which looks great on all skin tones.
After trialling many violet and ash-based tans, I have found a green based tan always takes the cake for getting that ‘just got back from the Bahamas’ glow.
Now, it would be cruel to procure all this practical knowledge and keep it to myself.
Instead, I am sharing my fake tan tips with the world, so you too can help any fake tan newbies wandering the aisles of Priceline looking very lost.*
These are the instructions you’ll find on the back of any ModelCo Tan Mousse, but with added tricks I’ve developed along the way.
4 (and a bit) steps to the perfect fake tan for YOU to pass on to YOUR customers
Fake tan prep starts before you even pick up a bottle. Those who believe beauty involves no math have clearly never fake tanned for a big event. Fake tan looks the deepest and darkest two days after the initial application. For example, have a party on Saturday? Tan on Thursday for the perfect glow.
Step 1: For best results, cleanse and exfoliate your skin using Model Co Tan Remover Exfoliating Soap.
After exfoliating, wait a couple of hours before applying the fake tan. While exfoliating is a necessary step for an even tan, it can aggravate the skin. Give it some breathing time to calm down. A hot shower will also open the pores, which the colour guide can settle into and cause those little black dots. Again, it’s best to wait.
In a time pinch? A blast of cold water before getting out of the shower will help speed up the process.
Step 2: Pump the mousse onto the ModelCo Blend Buffing Mitt and begin applying in a light, circular sweeping motion. Use ModelCo Back Applicator to achieve a flawless streak-free result on the back of the body.
Mitts are great for the entry-level tanner. They are fool-proof and create an even tan every time. My tip for when the tan just isn’t deep enough; try applying the product using rubber gloves. This trick isn’t for everyone as it does take patience and attention to detail, but more product is applied to the skin rather than being soaked up into the mitt.
STEP 3: Once you have evenly covered the whole body, use the residue left on your mitt and gently sweep over the back of your hands and the top of your feet. Wait until touch dry before getting dressed. Avoid water or perspiration for at least 1 hour.
Feet, hands, ankles and knees are going to be the biggest giveaway that the tan is fake. Liberally apply moisturiser to these drier areas to stop the fake tan from overdeveloping (remember DHA reacts with dead skin cells).
While many advise making a ‘claw’ when applying the tan to your hand, I keep my fingers straight and relaxed. This stops too much product from building up in the knuckles, which can often develop darker than the rest of the hand…another giveaway.
This next tip is a real game-changer to creating a flawless tan. Run a clean buffing brush over the seams of your tan i.e. around the ankles, wrists, neck and the tops of the hands. This step blends the tan into the skin and avoids any streaky lines.
STEP 4: Wait 1-4 hours depending on your desired shade, then rinse off with warm water only.
I usually leave my tan on overnight but, it can be washed off at any time depending on the desired intensity. To save bed linen getting tanned too try wearing long PJs to minimise the transfer of the colour guide onto the sheets
I know it’s tempting to wash off the tan using soap, especially if you’ve spent all night marinating in it, but ONLY rinse with water to avoid fake tan disappointment. Otherwise, all this hard work will wash down the drain. A quick 60-second rinse in lukewarm water is enough to get a clean feeling again (if necessary, a pH balanced soap can be used on pits and bits). This speedy shower keeps enough product residue on the skin, so it can continue to develop as you go about your day. Wait 8 hours until the next shower with soap.
This goes without saying but, MOISTURISE. It will keep the tan looking fresher for longer.
And voila! Congratulations, you have won the tanning game. That glow looks great on you. Now go out and champion Bronzing Beauty in your store!
*I once detailed the above routine to a very confused lady who was staring overwhelmed at the wall of fake tan in front of her. I helped her pick out products and gave her all the tips. I didn’t even work in the store. I am just the Mother Teresa of fake tan.